Installing a cooling fan on a 3D printer to resolve heat dissipation issues

Many people new to 3D printing encounter a common problem: the printed models have rough surfaces, overhangs sag, and fine details become blurred. This is often not due to a lack of printer precision, but rather to inadequate cooling.
Why install a cooling fan?
Most entry-level 3D printers come with only a hot-end fan (to cool the nozzle) and no dedicated model cooling fan. When PLA material is extruded from the nozzle, if it does not cool quickly enough, the molten plastic will naturally flow under the force of gravity, leading to:
● Curling or stringing at the bottom edges of overhanging structures
● Sagging in the middle of bridge structures
● Fine columns turning into ‘noodles’
● Surface blemishes or stringing
Put simply, the extruded filament needs to solidify and set quickly; the faster this process, the higher the model’s precision.
Which fan should you choose?
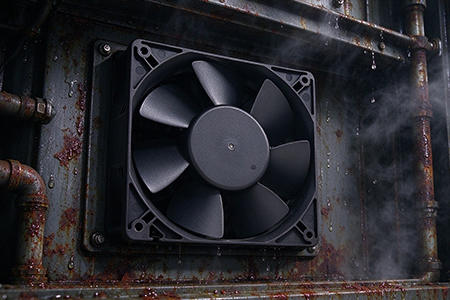
We recommend using a 4020 or 5015 model turbine fan (40mm × 40mm × 20mm or 50mm × 50mm × 15mm). Turbine fans generate high static pressure and deliver a concentrated airflow, enabling them to blow cool air directly onto the extrusion point beneath the nozzle. Standard axial fans have low static pressure and are far less effective.
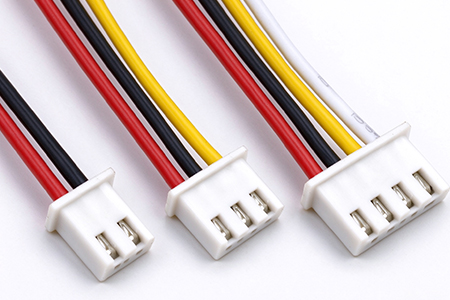
It is also advisable to choose a fan powered by 24V (or 12V if your printer uses a 12V system). Before installation, you must check the printer’s power supply voltage, as connecting the wires in reverse or using the wrong voltage will burn out the fan.
Why are 12V radial fans so effective at cooling electronic devices?
Cooling fans in energy storage systems solve heat dissipation issues